Categories
food

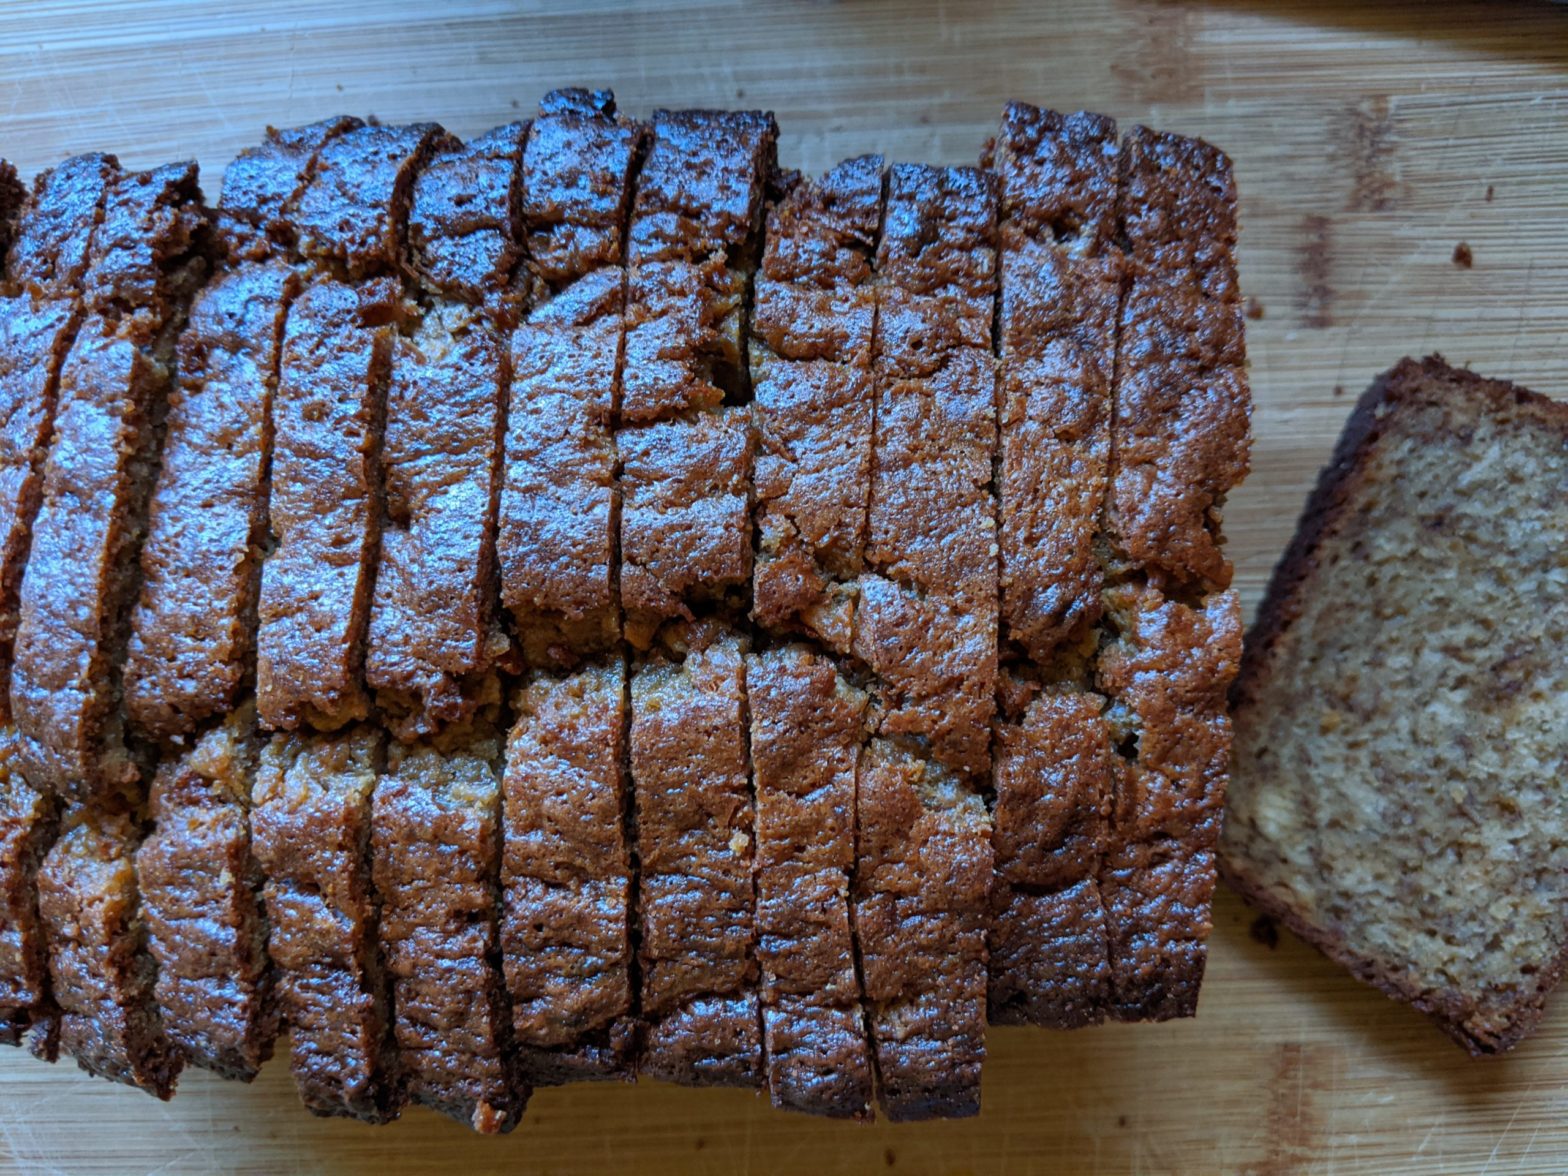
I’m That B*tch That Got 16 Slices Out of Her Banana Bread

Who do you think you are? I am!

It’s been established among family that my “food memory” ability has pretty strong game. No better example than my recollection of making a banana bread recipe as a kid from a light tan spiral-bound Geneva Mother’s Club (now Geneva Women’s Club) cookbook from the late 70s or 80s?? It had all the standards: eggs, buttermilk/yogurt, butter, and sugar. I would love to get my hands on a copy of that cookbook but instead I resorted to trying to find something similar.

I ended up landing on BBC Food’s simply titled, Banana Bread, recipe and went with it. I made 3 alterations as I tend to do.

  1. Swapped in homemade yogurt for buttermilk
  2. Used 1/2 dark brown sugar and 1/2 granulated white – thought any caramelization from the dark would be *chef’s kisses
  3. Added a few smatterings of cinnamon and nutmeg—I would guess less than 1/4 teaspoon each
banana-bread
slice of banana bread with butter

It’s quite perfect for what I was looking to satisfy memory-wise and I wanted to make a few notes for the next time I get around to making it.

  • The recipe is notated in metric measurements – love that precision!!
  • Disappointed that grams weren’t listed for the bananas as I had 3 smaller bananas and 1 larger, but I went with it—401 grams for me
  • So glad I understand what ‘folding’ in flour mixture means – no dense glutenous-formed bread here
  • At an hours time my bread—even though it had a golden top—looked slightly underdone, a toothpick came out clean but I didn’t buy it. Did some research and found these very helpful tips from King Arthur Flour. Aim for an internal temperature of 200° F. I first put it back in for an additional 10 minutes and then added 5 minutes in between each temperature check – I ended up baking an extra 25-30 minutes and yes my oven measured at 350° F. The internal temp before starting was ~ 165° F.
more pictures of sliced banana bread

Recipe stated it would be 10 slices at 334 calories but I wanted to try and shave that down a little bit and was able to cut 16 slices for about 207 calories a slice. Much better for a snack.

I owe my luck with 16 slices to our really great new bread knife, letting the loaf cool for a few hours, and my cutting technique for even slices. First cut is directly down the middle then there are 2 halves, then proceed making center cuts with each “new” section until you have the number of slices you want.

😍

Categories
covid19 food

What I Did with 3lb of Garlic

because Costco of course!

We’ve had this garlic in the fridge for about a month and besides roasting about a cup and taking out a few cloves to cook with I haven’t done much with it and was getting a little antsy about spoilage and food-waste!

My thought when purchasing 3lb of garlic was that I wanted to make honey-fermented garlic and toum–a Lebanese garlic sauce. I’m most familiar with Karam’s garlic sauce that we get at the co-op and wanted to try making it myself.

Here we are a few weeks into our own self-quarantine (WA ‘stay at home and stay healthy’ order signed yesterday) and we have no lemons! 😂 So no toum-making for me. That’s okay, there’s plenty of other options when it comes to 3lb of garlic.

First on my list and the easiest to make is lacto-fermented garlic. I’ve been fermenting for 8 years and never made this. I can’t believe it either!

mason jars of garlic

I filled the jars with garlic and probably filled them too full as I tend to do. I then mixed up a salt water brine of 3 cups of filtered water to 3 tablespoons non-iodized salt and poured it over the tops. I was left with about 1/4 cup so not too bad on my estimation.

Placed a glass weight in each jar and covered it with pickling tops. I’ve since written today’s date on the jars with Sharpie so I know when to start checking.

There are many benefits to fermenting food but sometimes it’s also about delaying the decision of how you’re going to eat the food too. I’m saving it from spoiling but also putting off eating it just yet—in a safe way.

a line of garlic-filled mason jars

Next up was honey-fermented garlic. Another simple process, add garlic cloves to a mason jar, cover with honey (I used local Woodland Honey), use a glass fermenting weight to keep the garlic below the honey, and cover it with a pickling lid.

The small jar on the end is for the fridge and normal cooking.

Have you bought similar garlic? and What did you do with it?